Quick Answer
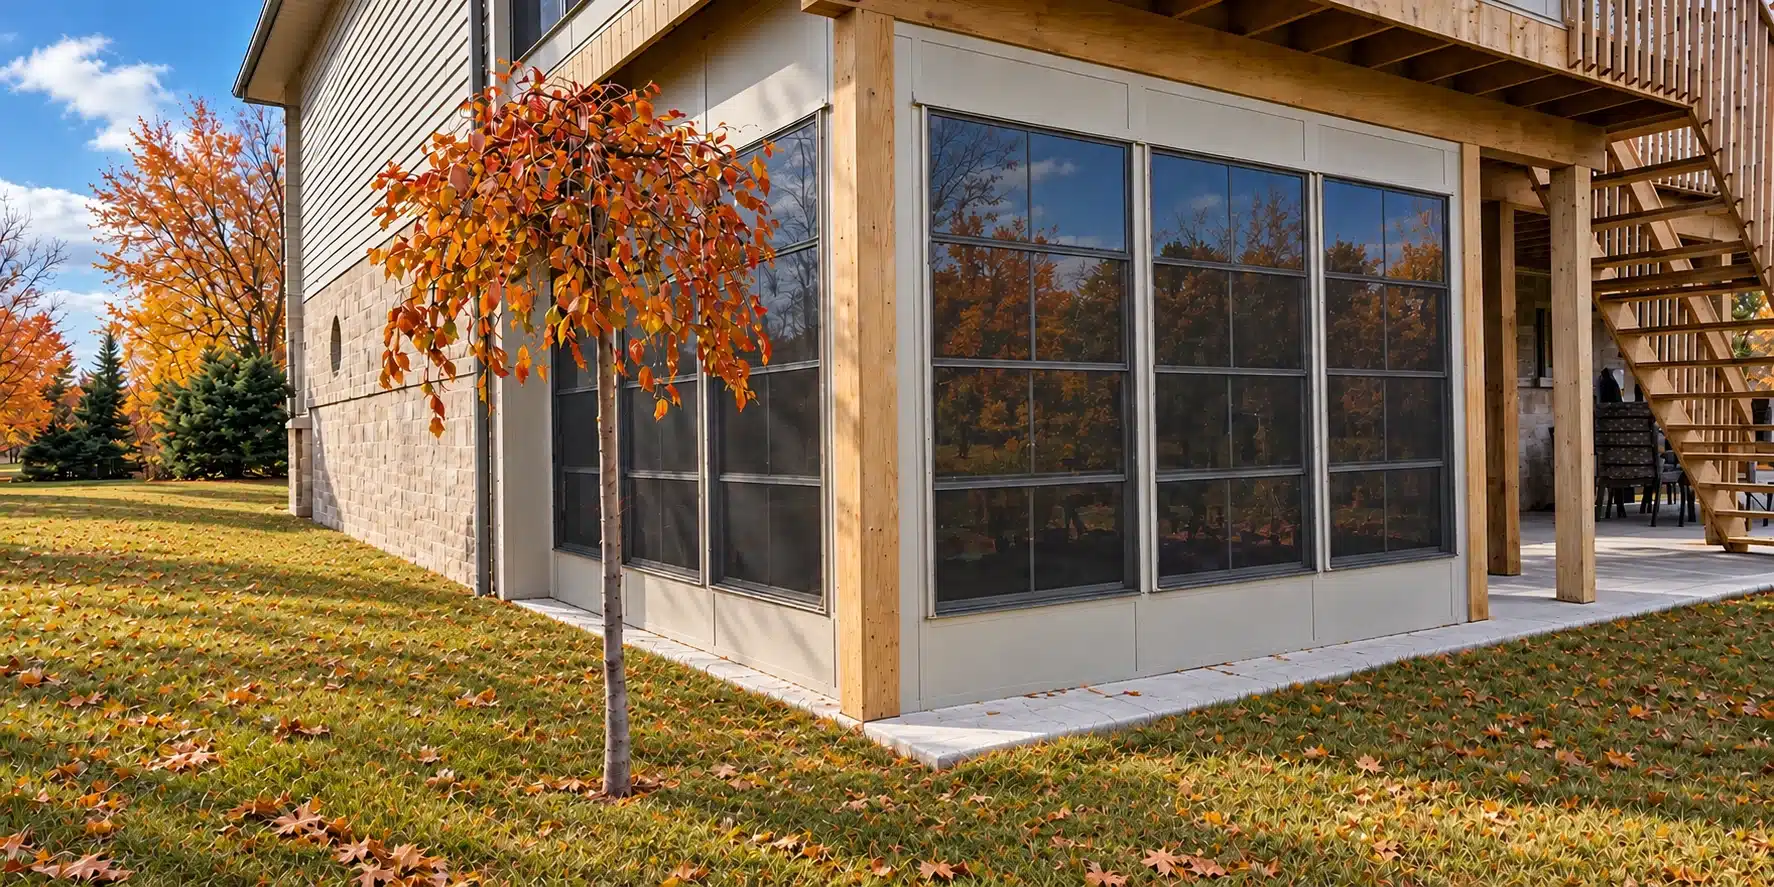
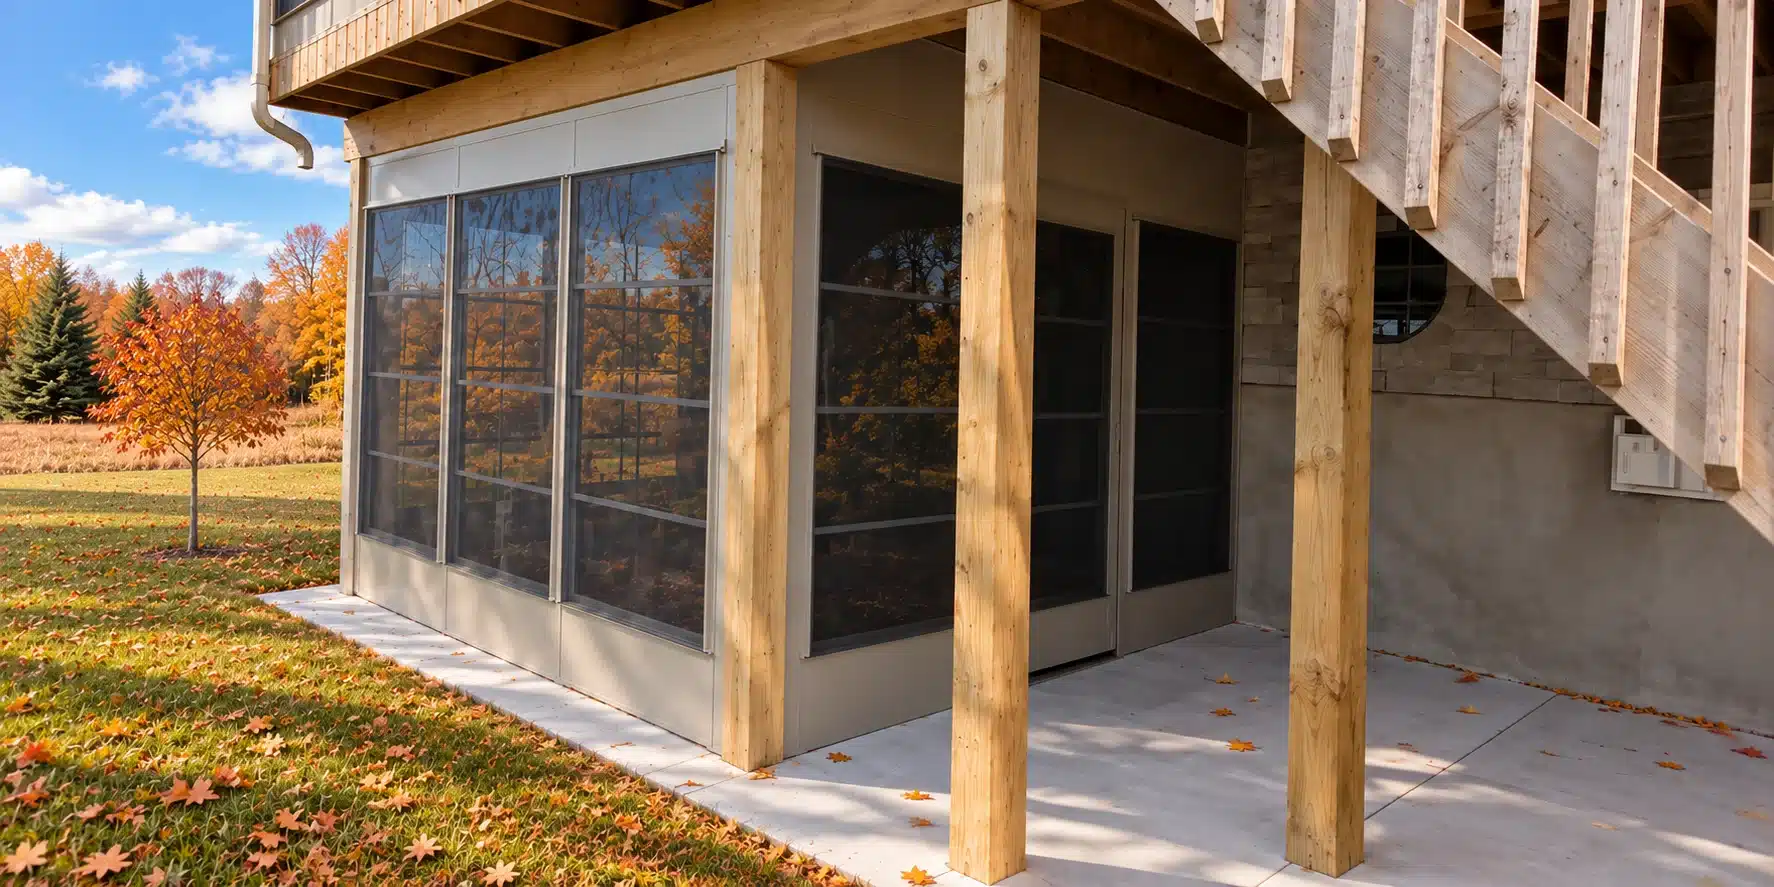
Wondering how to enclose space under a deck? It is best done with a walls under a deck conversion using ViewFlex vinyl windows: first manage drainage above the area, then frame the perimeter and fit custom panels that block wind, rain, insects, and UV while keeping your sightlines open and the room bright.
That shaded, often-neglected zone beneath a raised deck holds real potential. As the evenings start to cool across York Region, it can become a sheltered lounge, a hobby corner, or a quiet morning-coffee spot. At Sunspace GTA by Renoasis, we design and install conversions that feel finished, comfortable, and built to last. This guide walks you through the process step by step, from assessing the slab to choosing tints, so you can picture the room before a single panel goes in.
Why It Pays to Enclose the Space Below
A raised deck already creates a natural ceiling. Walling in the perimeter below it is often the most efficient way to add livable square footage without pouring a new foundation or extending your roofline.
Done well, a walls-under-deck conversion gives you protection from the elements, insects, and the sun’s harmful UV rays while keeping the open, airy feel of the backyard. Instead of a dark storage catch-all, you gain a bright three-season room you actually use.
For GTA homeowners thinking long term, enclosed outdoor living also adds lasting value to the property. It reads as finished living space, not an afterthought, which matters when you eventually sell.
Step 1: Assess Your Under-Deck Area
Start by measuring the usable footprint and the headroom. A deck set higher off the ground gives you comfortable standing room; a lower deck may suit a cozier seating nook. Note any posts, stairs, or grade changes that the design has to work around.
Check the surface underfoot. A level concrete pad, pavers, or our aluminium decking all make solid floors for an enclosed room, whereas bare soil usually needs attention before walls go up.
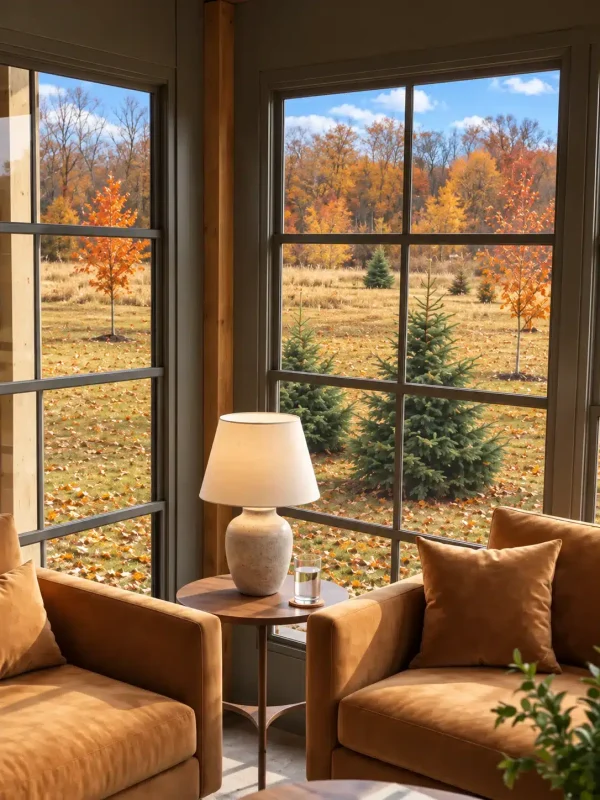
This is also the moment to picture how you’ll use the space. A reading retreat, a dining area, a spot to keep enjoying the yard well into autumn. Your intended use shapes everything that follows.
Step 2: Solve Drainage and the Ceiling First
Water is the single most important factor when you want to turn under deck into a room. Rain slips between deck boards above, so the ceiling of your new space has to shed that water away from the enclosure, not into it. An under-deck drainage system channels runoff to the perimeter and keeps the room below dry.
Once drainage is sorted, the ceiling can be finished cleanly and the floor stays usable in every season. Skipping this step is the fastest way to end up with a damp, unusable room, which is why we plan it before any walls are framed.
Our team handles this as part of the engineered design, so the waterproofing and the enclosure work together rather than against each other.
Step 3: Choose ViewFlex Walls and Windows
Here is where the conversion comes to life. ViewFlex vinyl glazing is the heart of the system: lightweight, virtually maintenance free, and easy to clean. It offers more safety and durability than glass, which matters in a busy family backyard, and it’s more energy efficient than single-pane glass thanks to better thermal conductivity.
The panels are custom fabricated to fit your opening, so the walls follow the deck’s real dimensions rather than forcing you into stock sizes. You choose vinyl tints in Clear, Smoke Gray, Dark Gray, or Bronze, and frame colours in White, Driftwood, Bronze, Black, or Gray to match your home.
These are the same WeatherMaster windows that combine the open feeling of a screen room with the comfort of an enclosed porch. Backed by over 40 years of time-tested durability from Sunspace Sunrooms, they let you glide panels open on mild afternoons and close them tight when the wind picks up.
Step 4: Add Doors, Railings, and Finishing
With the walls in place, access and safety come next. A set of wide bi-fold doors can open the enclosure right up to the yard on a warm day, blurring the line between inside and out.
Where the deck above meets open edges or stairs, coordinated railings keep the space code-compliant and tidy. These finishing details are what separate a professional conversion from a weekend patch job.
Finally, think about comfort touches. Lighting, flooring, and a few furnishings turn the shell into a genuine backyard retreat. Because the WeatherMaster enclosure reduces the need for special trade installation, the whole project moves faster than a traditional addition.
How to Enclose Space Under a Deck: Mistakes to Avoid
The most common error is ignoring drainage and building walls under a wet ceiling. Water management comes first, always.
A second mistake is over-promising winter performance. These are three-season rooms, ideal for extending your season through cool autumn evenings, not for replacing heated living space in an Ontario deep freeze. If you want year-round comfort, that’s a different conversation about an insulated sunroom.
Skipping permits and code checks is the third pitfall. A professionally engineered, permit-ready design protects your investment and your peace of mind, which is exactly what our walls-under conversions are built to deliver.
FAQ
Can an under-deck room be used in winter?
A ViewFlex conversion is a three-season room. It performs beautifully from spring through late fall, blocking wind, rain, and insects while keeping the view open. We’re honest about Ontario winters: for true year-round use, an insulated sunroom is the better fit, and we’re happy to walk you through both options during a consultation.
Is ViewFlex vinyl better than glass for walls under a deck?
For most under-deck projects, yes. ViewFlex vinyl is lightweight, virtually maintenance free, and easier to clean than glass, and it offers more safety and durability if something strikes it. It’s also more energy efficient than single-pane glass, so the room stays comfortable longer into the cooler months.
Do I need a permit for this kind of conversion?
In many cases a permit is required, and requirements vary by municipality across York Region and the wider GTA. We handle this for you with permit-ready, engineered drawings built to code, so nothing stalls mid-project. During your free consultation, we’ll confirm exactly what your project needs.
How long does an under-deck enclosure take to install?
Timelines depend on the size, site conditions, and drainage work involved. Because the panels are custom fabricated to fit and the WeatherMaster system reduces the need for special trades, installation is typically quicker than a conventional addition. We’ll give you a clear schedule once we’ve assessed your space.
Conclusion
Learning how to enclose space under a deck comes down to four things: manage drainage, frame smart, choose durable ViewFlex walls, and finish with doors and railings that match your home. The payoff is a bright, sheltered room that stretches your outdoor living well past summer.
At Sunspace GTA by Renoasis, we bring engineering confidence and genuine care to every conversion across Aurora, Newmarket, Bradford, and beyond.
Ready to reclaim that wasted space? Book a free, no-obligation consultation and let’s design your new backyard retreat together.